

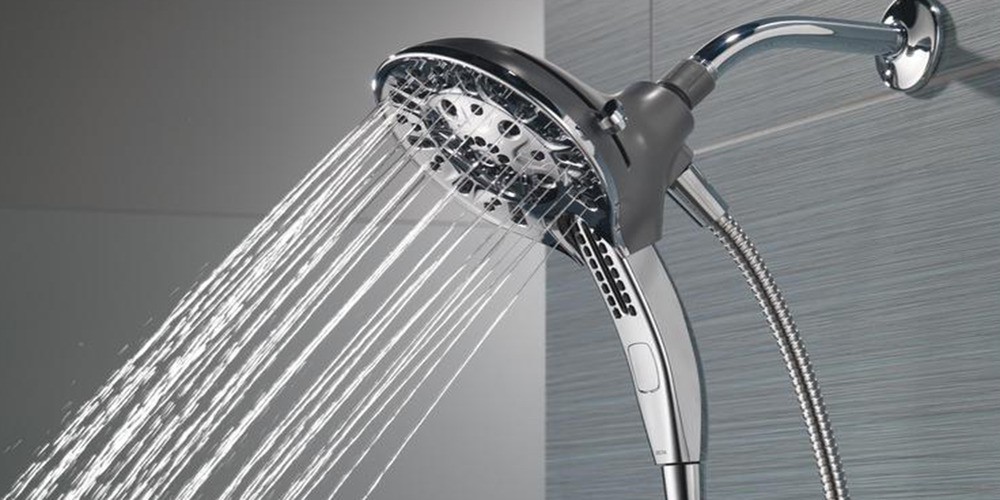
Changing a showerhead can sound like a daunting task to accomplish, however, it is a lot simpler than you think. People replace their showerheads for various reasons, such as broken showerheads, outdated showerheads or they just do not like the look of the showerheads. Upgrading showerheads once in a while is beneficial to cut your water use. Modern showerheads can cut your water usage by 25 to 60%, which will save you money on your water bills.
If you would like to test how much water your showerhead uses, here is a test you can use to determine your showerhead’s water usage:
- Place a bucket underneath your showerhead and mark the bucket in gallon increments
- Turn on the shower
- Fill the bucket till the one-gallon mark on the bucket and time how long it takes
- If the water hits the one-gallon mark in less than 20 seconds, then you need to update your showerhead to a low-flow

How to Pick the Right Showerhead
By now, you have decided to change the showerhead by yourself, so now there is an important decision. Which showerhead will be the ideal one in your home? Most modern showerheads have the low-flow feature implemented in them. This will effectively cut down your total water usage in your household. Also, it is important to check if you have heavily chlorinated water in your municipality. If you do, consider investing in a showerhead filter to protect your hair.
How to Remove Old Showerhead
Make sure you turn off the showerhead when you start to work on it. You do not need to turn off the entire house’s water supply. Old showerheads can be unscrewed by twisting them off by hand in a counter-clockwise motion. However, if it is bolted in place, grab your adjustable wrench, open it wide, just enough to grip around the bolt of your showerhead. Turn it counter-clockwise and loosen the bolt. Pro-tip, you can get more torque on the wrench by grabbing the end of the handle. Try not to use too much force as sometimes, you could damage the bolt. Once the bolt is loosened, you should be able to remove the showerhead.
Note: Do not throw away your old showerhead until your new one fits properly, if it does not, you will have to install the old one back on.
How to Install the New Showerhead
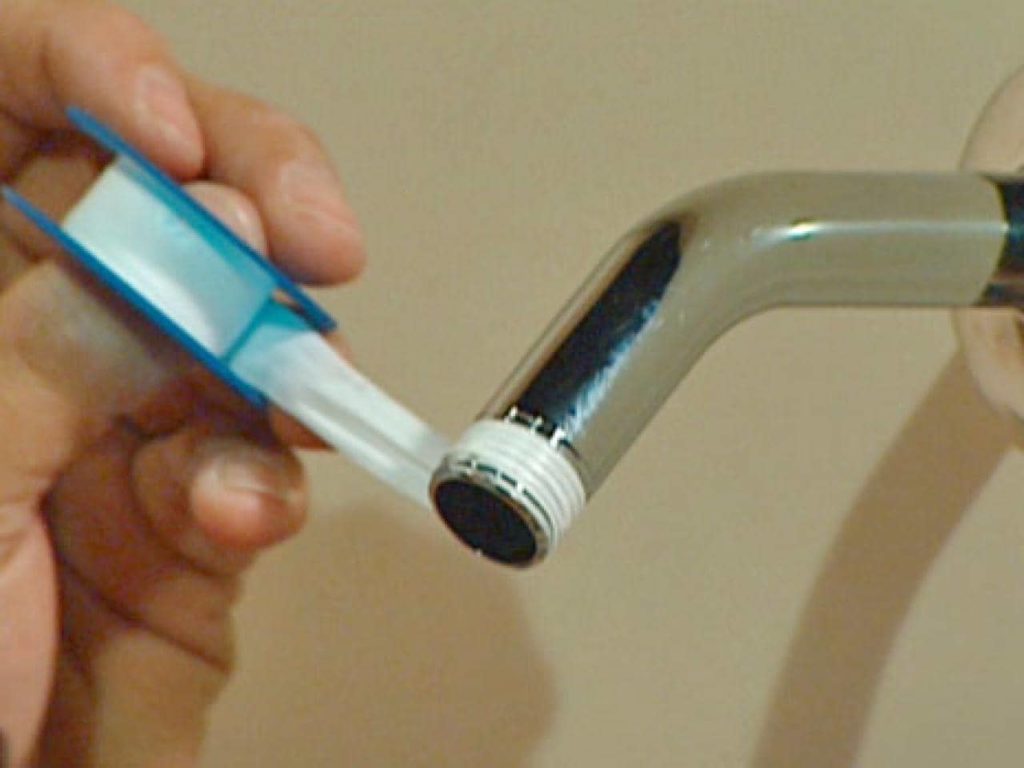
After removing the old showerhead, you will see a pipe sticking out of the wall. There could be hard water buildup, dirt, or old plumber’s tape around the pipe. Grab a rag and clean off all the excess material so you have a clean pipe to work with. Using Teflon tape or plumber’s tape that you can buy from a hardware store, wrap the threads of the pipe in a clockwise direction. Make sure you get a couple of layers with the Teflon tape. Use your fingers to stick it along the threads of the pipe. The tape is perfect to create a watertight seal that will prevent leakage.
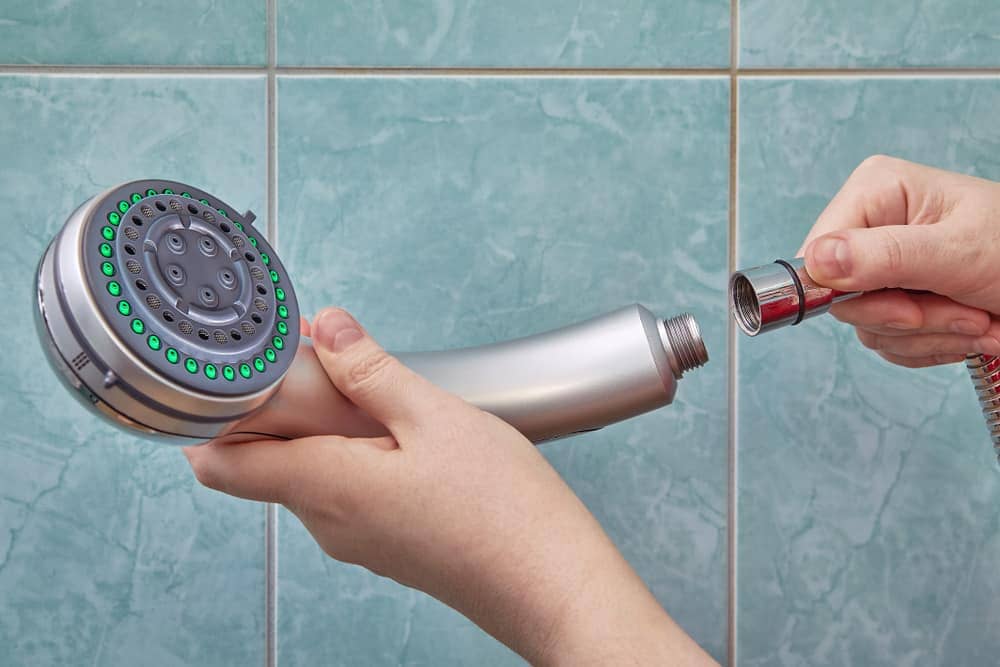
Next, grab the new showerhead and screw it clockwise into the pipe by hand. Every showerhead is different, so some might need a wrench to tighten the showerhead. But only do so, if the instructions state it. If you do need to tighten it using the wrench, make sure not to over-tighten it.
Check for Leaks
To check for leaks, turn on both the hot and cold faucets, and check for leakage. If you do find a leak, just tighten the showerhead a bit more. If you do not find any leak, then congratulation, you just completed your DIY.
Call a Professional for Help
If you do find yourself unable to complete this DIY, do not worry CJ Drain & Plumbing will help you install the showerhead in an efficient and timely manner. Feel free to call our trusted plumbers to help you take away your plumbing stresses.